Video podcasting
Podcast camera setup: how many cameras and which angles
By the team at The Cast Studio · Updated · 5 min read
In short
Use one camera for a solo video and three for a two-person conversation: a wide shot plus a close-up of each speaker, at eye level and slightly off to the side. Leave a little space above each head, keep every camera on one side of the table, and record in 4K so an editor can crop vertical clips.
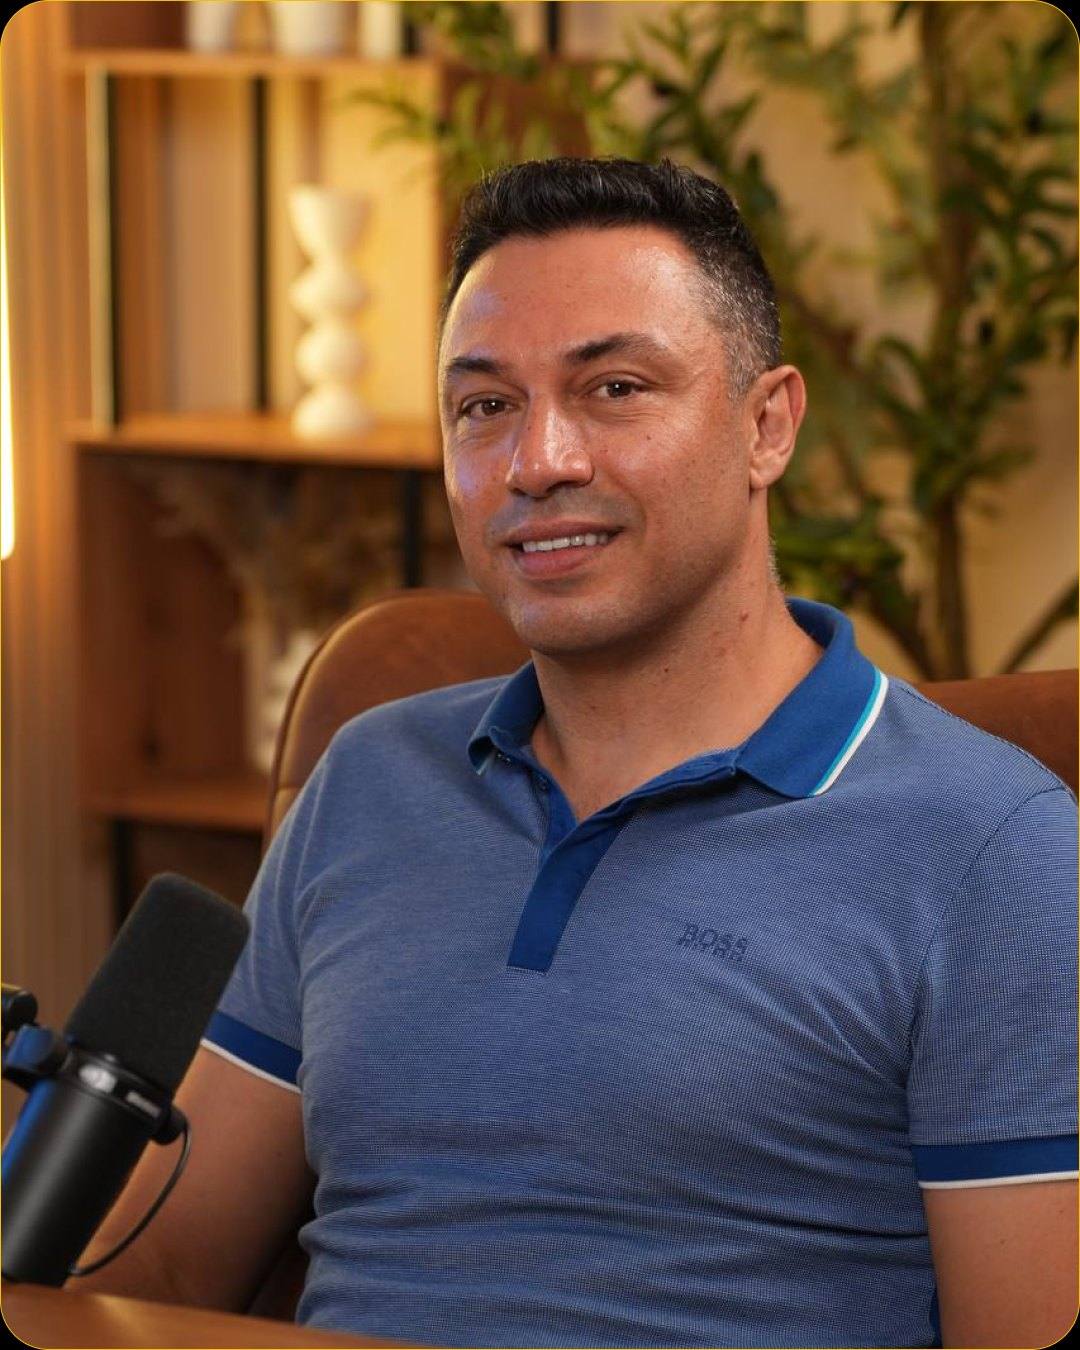
Cameras turn a podcast into a show people can watch, but more cameras only help if they are placed and framed well. This guide covers how many angles to use, where to put them, how to frame each shot and how a studio handles the setup for you.
How many cameras does a podcast need?
A podcast needs one camera for a solo video and three for a two-person conversation; panels need more. The extra angles exist so that an editor can always show the person who is talking, and cut to a reaction when it matters.
| Setup | Cameras | Shots | Good for | Trade-off |
|---|---|---|---|---|
| Solo | 1 | One close-up or medium shot | Solo episodes, course modules, talking-head videos | Static for long conversations |
| Simple interview | 2 | One camera per person, or a wide shot plus the host | Short interviews | Fewer options in the edit |
| Two-person show | 3 | A wide shot plus a close-up of each speaker | Interviews, co-hosted shows | More footage to edit |
| Panel | 4 or more | A wide shot plus close-ups of each speaker | Round tables, group discussions | Needs more crew and space |
Where do you place the cameras?
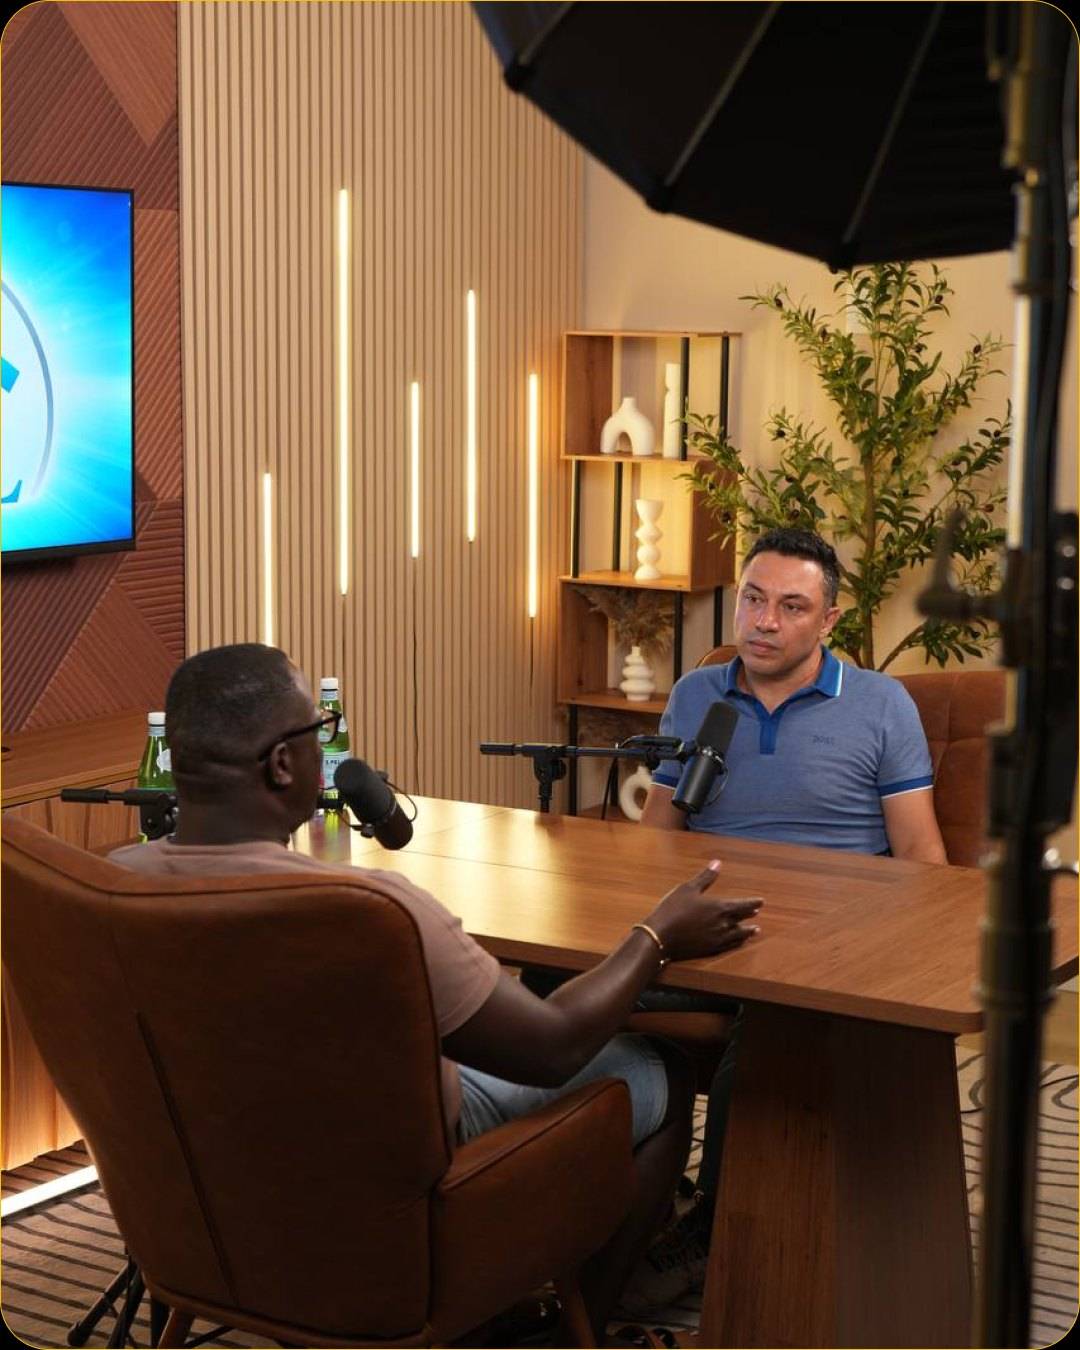
Place the cameras at eye level and slightly off to the side of each speaker's eyeline, all on the same side of the table. That keeps the shots flattering and makes every cut easy to follow.
- Eye level. A camera looking up at someone feels dominant, one looking down feels small. Match the lens height to the eyes.
- Off-axis close-ups. Put each close-up camera near the other person's shoulder, so the speaker looks just past the lens while they talk to their guest.
- One side of the line. Imagine a line between the two speakers and keep every camera on one side of it. Cross it and people suddenly seem to look the same way, which confuses viewers.
- The wide shot in front. The wide camera sits in front of the table or sofa and holds everyone, plus enough of the set to show where you are.
- Clean sightlines. Keep cameras out of each other's shots, and keep microphone arms low and to the side so they do not cover faces.
How do you frame each shot?
Frame close-ups from the chest up with the eyes about a third of the way down the frame, and frame the wide shot so everyone fits with a little room around them. Consistent framing across episodes makes a show look produced.
- Close-ups: head and shoulders, a little space above the head, and more space in front of the face than behind it, in the direction the person is looking.
- Wide shot: all speakers, the table or seating and some of the background, without empty space above.
- Matching sizes: both close-ups should show the speakers at the same size, so cutting between them feels even.
- Vertical-friendly close-ups: keep the speaker near the center of the close-up, so a vertical clip can be cropped from it later. Our guide to podcast clips shows how to plan them.
- Background check: look for lamps, plants or shelf edges that seem to grow out of someone's head, and move them or the camera. Our podcast background ideas show what works behind the speakers.
Where should hosts and guests look?
Hosts and guests should look at each other, not at the cameras, for most of the episode. A conversation between two people who are listening to each other is what viewers come for. Use the lens only for direct moments: the intro, the outro, a call to action, or a short take recorded for social media.
If a guest keeps glancing at a camera, it usually helps to move that camera slightly away from their natural eyeline, or to seat them so the other speaker is the obvious place to look.
What camera settings matter most?
The settings that matter most are the ones that must match across cameras, so the cuts do not jump. Agree on them before the first take:
- The same frame rate and resolution on every camera.
- Matched white balance, so skin tones do not change color from one angle to the next.
- Exposure set for faces, not for the bright background.
- Focus on the eyes, checked on a monitor before you start.
- Long, continuous recording, with a clap or timecode at the start so the angles and the audio line up in the edit.
Good light matters as much as the camera itself. Our guide to podcast lighting setup explains how to light one, two or more people.
How does a studio handle the camera setup?
A studio supplies and sets up the cameras, light and sound, so you only have to sit down and talk. At The Cast Studio, the package decides the cameras:
- Studio Essentials, $199 per hour: one cinematic 4K angle, with an on-site tech assist for setup, start and stop, and basic monitoring. Suited to solo episodes, quick reels and course modules.
- Studio Recording, $250 per hour: three cinematic 4K angles from the studio's Sony 4K cameras, with a full crew handling cameras, lighting and audio. Raw files arrive within 24 hours.
- Studio Recording + Enhanced Edit, $455 per hour: the same three angles, cut into a finished 4K multicam edit with mastered audio, your logo, lower thirds and name titles.
For larger shows, the system has inputs for up to five camera angles and room for two more microphones, added for an extra fee. The video podcast studio page describes the full equipment list, and the round-table set is the one built for panels.
What camera mistakes should you avoid?
Most problems come from small setup details that are hard to fix in the edit:
- Cameras set too low, looking up at the speakers.
- A close-up camera straight in front of a guest, so they stare into the lens.
- Cameras on both sides of the speakers' line, so the cut feels like a jump.
- Different white balance on each camera, so skin tones shift with every cut.
- A microphone arm across someone's face in their close-up.
- Recording only the wide shot, which leaves nothing to cut to.
Want three 4K angles set up and run for you? Book a session or see the sets on a free studio tour.
Frequently asked questions
How many cameras do you need for a podcast?
One camera is enough for a solo video. For two people, three cameras work well: one wide shot of both and a close-up of each speaker, so an editor can always cut to whoever is talking. Panels with more guests need more close-ups or a wider shot that holds the group.
Where should podcast cameras be placed?
At eye level, slightly to the side of each speaker's line of sight, so they look across the camera at the other person rather than straight into it. Keep all cameras on the same side of an imaginary line between the speakers, so the cuts make sense to viewers.
Should podcast hosts look at the camera?
Mostly no. In a conversation, hosts and guests should look at each other; it reads as natural on camera. Look straight into the lens only when you talk to the audience directly, for example in the intro, the outro or a call to action.
What resolution should a video podcast be recorded in?
Recording in 4K gives you room to reframe in the edit and to crop vertical clips from a close-up, even if you publish in 1080p. All three packages at The Cast Studio record in 4K: one cinematic angle with Studio Essentials and three angles with the Studio Recording packages.
Is one camera enough for a video podcast?
For solo episodes, course modules and talking-head videos, yes. For a conversation, one camera can only hold a wide shot or one speaker, so long episodes can feel static and you lose the reactions. That is where a second and third angle pay off.
Written by the team at The Cast Studio, a podcast and video studio at 801 NE 2nd Ave, Ste 120, Fort Lauderdale, FL 33304. Facts and prices are checked on the date shown above. About the studio.